A common source of confusion in React performance work is the difference between optimizing a metric and optimizing the user experience that metric measures. A team can shave two seconds off Largest Contentful Paint by shipping a smaller hero image, and the page still feels slow because the main thread is blocked and buttons do not respond to taps. Conversely, a page with a mediocre LCP score can feel instant if every interaction resolves within a frame. Core Web Vitals exist precisely to close that gap, and treating them as three independent numbers to move rather than three symptoms of one underlying rendering pipeline is where most SPA optimization efforts go wrong.
This guide splits the work into foundational and advanced tracks. The foundational layer covers what any React SPA should have in place before measuring anything. The advanced layer covers the techniques that matter once the basics are done — and, importantly, the cases where those techniques backfire.
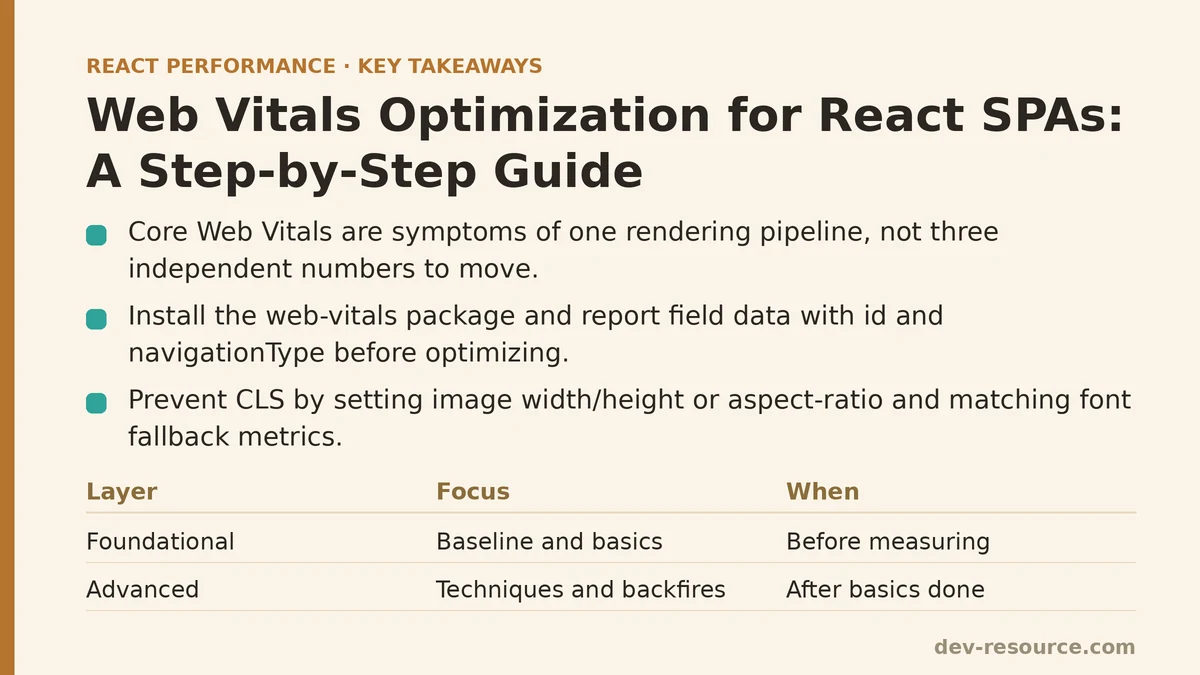
Foundational Layer: What Every React SPA Needs Before Measuring
Skipping this layer means every subsequent measurement is polluted by problems that no amount of clever code will fix. There is no point tuning useMemo dependencies on a page that ships a 4 MB JavaScript bundle.
Establish a Real Measurement Baseline
Install the web-vitals package and report metrics to a collection endpoint. Without this, all optimization is guesswork.
import { onLCP, onINP, onCLS } from 'web-vitals';

function sendToAnalytics(metric) {
  const body = JSON.stringify({
    name: metric.name,
    value: metric.value,
    rating: metric.rating,
    id: metric.id,
    navigationType: metric.navigationType,
  });

  if (navigator.sendBeacon) {
    navigator.sendBeacon('/api/vitals', body);
  } else {
    fetch('/api/vitals', { body, method: 'POST', keepalive: true });
  }
}

onLCP(sendToAnalytics);
onINP(sendToAnalytics);
onCLS(sendToAnalytics);
The id field is important because it lets you correlate repeat reports for the same page load, and navigationType distinguishes hard navigations from back-forward cache restores. Field data from real users is the only reliable source; lab tools like Lighthouse throttle predictably and miss the long tail of slow devices that field data captures.
A rough sense of what good looks like: LCP under 2.5 seconds, INP under 200 milliseconds, CLS under 0.1. These are the thresholds Google publishes, measured at the 75th percentile of page loads. Individual lab measurements will not match them exactly, which is another reason to prefer field data for tracking.
Identify the LCP Element Before Touching Code
LCP is the render time of the largest image, video poster, or text block in the initial viewport. If that element is a hero image, the optimization path is different from when it is a text-heavy heading paused on a web font swap. DevTools Performance panel and the PerformanceObserver API can both identify the element, but the fastest route is often the “Largest Contentful Paint” section in Chrome DevTools’ Performance insights, which names the node directly.
Common failure mode: optimizing an image that turns out not to be the LCP element at all, because a large heading above it renders first and is what the browser measures. Confirm the element first, then act.
Prevent the Two Classic CLS Regressions
Layout shift in a React SPA comes from two sources more than any other: images without intrinsic dimensions, and fonts without a fallback metric match.
For images, always set width and height attributes or an explicit aspect-ratio in CSS. The browser needs the aspect ratio to reserve space before the image arrives. Without it, every image that loads pushes content below it downward — a direct CLS hit.
For fonts, the shift comes from the fallback font’s metrics differing from the loaded font’s. font-display: swap prevents invisible text but does not prevent the reflow when the real font arrives. The size-adjust, ascent-override, and descent-override descriptors on an @font-face rule can align the fallback’s metrics with the loaded font’s:
@font-face {
  font-family: 'Inter Fallback';
  src: local('Arial');
  size-adjust: 107%;
  ascent-override: 90%;
  descent-override: 22%;
  line-gap-override: 0%;
}

body {
  font-family: 'Inter', 'Inter Fallback', sans-serif;
}
The exact percentages depend on the specific fonts involved and should be generated rather than guessed; tools like Fontaine or next/font’s automatic fallback adjustment handle this. Failure mode: applying the fallback font without testing on a slow connection, where the swap window is long enough to visibly jump text.
Advanced Layer: Techniques That Help Only After the Basics Are Solid
Once the foundational layer is in place, the metrics move slower. The remaining gains come from reducing main-thread work, matching loading priority to render priority, and treating interaction responsiveness as a scheduling problem rather than a rendering problem.
LCP: Priority Signals Beat Preload Guessing
The single most effective LCP technique in modern React is to let the framework or bundler know which resource is critical. <link rel="preload"> still works, but it is easy to over-preload and starve the very request you meant to accelerate. A preload for a font that is not used until after first paint competes for bandwidth with the LCP image.
In a Next.js app, next/image with the priority prop handles this correctly: it emits the right preload and removes lazy loading for that image only. In a Vite or custom SPA, replicate the pattern manually by preloading only the LCP image and nothing else on first paint.
A second technique is inlining critical CSS and deferring the rest. A React SPA that ships a single large CSS file blocks first paint until that file downloads and parses. Extracting above-the-fold styles inline, and loading the rest with <link rel="preload" as="style" onload="this.rel='stylesheet'">, removes the blocking round trip. Failure mode: over-inlining, which bloats the HTML and delays the very paint it was meant to speed up. Keep the inline block under roughly 14 KB as a working ceiling; past that, the transfer cost outweighs the render-blocking savings.
INP: Responsiveness Is About Yielding, Not Shortening
INP measures the latency of the slowest interaction a user has with the page. It is not an average. A single 600 ms click handler will dominate the score even if every other interaction resolves in 20 ms.
The instinct is to make handlers faster. That helps, but the bigger lever is yielding to the browser so that input can be processed between chunks of long work. React 18’s useTransition and startTransition exist for exactly this:
import { useState, useTransition } from 'react';

function SearchableList({ items }) {
  const [query, setQuery] = useState('');
  const [filtered, setFiltered] = useState(items);
  const [isPending, startTransition] = useTransition();

  function handleChange(event) {
    const value = event.target.value;
    setQuery(value);

    startTransition(() => {
      setFiltered(
        items.filter(item =>
          item.name.toLowerCase().includes(value.toLowerCase())
        )
      );
    });
  }

  return (
    <div>
      <input value={query} onChange={handleChange} />
      {isPending && <span>Filtering…</span>}
      <ul>
        {filtered.map(item => (
          <li key={item.id}>{item.name}</li>
        ))}
      </ul>
    </div>
  );
}
The controlled input update runs synchronously so typing feels instant. The expensive filter runs in a transition, which React can interrupt if the user types again. Failure mode: wrapping everything in startTransition, including updates that drive visible UI the user expects immediately. Transitions are for non-urgent work only.
Where does this matter most in practice? Long lists, large tables, and any component whose render cost scales with data size. For small components, the transition machinery adds overhead that outweighs the benefit.
CLS: The Dynamic Content Trap
Foundation-level CLS fixes handle static layout. The harder cases are dynamic: banners injected by an ad script, cookie consent bars that appear after a fetch resolves, toast notifications that push content down. Each of these needs reserved space defined before the content arrives.
.ad-slot {
  min-height: 250px;
  contain: layout;
}
The contain: layout declaration is worth knowing about; it tells the browser that this element’s internal layout cannot affect its siblings, which limits how far a late content change can propagate. Use it on any container whose content arrives asynchronously. Failure mode: setting min-height too small, so the placeholder still shifts when the real content is taller. Check the real content height in production and set the placeholder to match, or slightly exceed, it.
Where Foundational and Advanced Techniques Intersect
The two layers are not sequential so much as nested. Foundational work is what you do on every SPA, regardless of stack. Advanced work is what you do once measurement shows a specific metric is still failing after the foundational fixes have landed.
| Concern | Foundational Approach | Advanced Approach |
|---|---|---|
| LCP | Compress and correctly size the LCP image | Priority hints, critical CSS extraction, fetchpriority="high" on the image itself |
| INP | Avoid synchronous layout reads in event handlers | startTransition, useDeferredValue, web workers for heavy computation |
| CLS | Width/height on images, font-display: swap |
Metric-override fallback fonts, contain: layout on async containers |
The advanced column is not automatically better. Each technique in it has a failure mode, and several will make the score worse if applied without the corresponding measurement showing they are needed. A team can spend a week setting up priority hints and see no LCP movement because the actual bottleneck was the 400 KB CSS file blocking first paint. Field data collected per-metric is what tells you which lever to pull.
A Practical Order of Operations
For a React SPA starting from an unmeasured state, the sequence that produces the most movement with the least wasted effort looks like this:
- Instrument
web-vitalsand collect at least a few days of field data. Do not optimize against a single Lighthouse run. - Confirm which element is the LCP element on the pages that matter most.
- Fix format, compression, and dimensions on that element and any above-the-fold images.
- Set intrinsic dimensions on every image and preload the primary font with a metric-matched fallback.
- Re-measure. Only then decide whether LCP, INP, or CLS needs advanced intervention.
- Apply advanced techniques one at a time, re-measuring after each. Keep the ones that move the needle in field data; revert the ones that do not.
The order matters because each step changes which bottleneck is next. Compressing an image does nothing for INP, and shaving render time off a component does nothing for an LCP that is dominated by network latency. Measure, fix the current largest bottleneck, measure again.
If you are working through Core Web Vitals on a React SPA and want a second opinion on which metric to attack first, describe the field data you are seeing and where it diverges from your lab results — the gap between the two is usually where the real problem lives.
Related guides: Improving Largest Contentful Paint (LCP) in React Apps: A Beginner vs Advanced Guide, Fixing INP in React: 5 Interaction Delays Ranked by Impact, and The Top 5 Causes of Cumulative Layout Shift in React Apps (Ranked by Impact).
🔗 Recommended Reading
- React Performance Mistakes in Fintech Dashboards and How to Fix Them
- Lazy Loading Images and Components in React: A Step-by-Step Tutorial
- React Memoization: When and How to Use memo, useMemo, and useCallback
- Next.js App Router Performance Optimization for Beginners: A Step-by-Step Guide
- Measuring and Fixing React Re-render Performance: A Step-by-Step Walkthrough