A default Create React App project, before a single line of custom code is written, ships around 130KB of JavaScript to the browser. Add a UI library, a state manager, a couple of utility packages, and a charting tool, and it’s common to see that number cross 1MB — sometimes 2MB — without anyone deciding, deliberately, that the tradeoff was worth it. Most teams don’t choose a bloated bundle. They accumulate one, dependency by dependency, until a Lighthouse score or a support ticket forces the question.
The good news is that bundle size problems are unusually easy to diagnose once you know where to look, and the fixes tend to follow a predictable order of impact. Below are the five techniques worth trying, ranked from the change most likely to move the needle to the one that matters most as a long-term habit rather than a one-time fix.
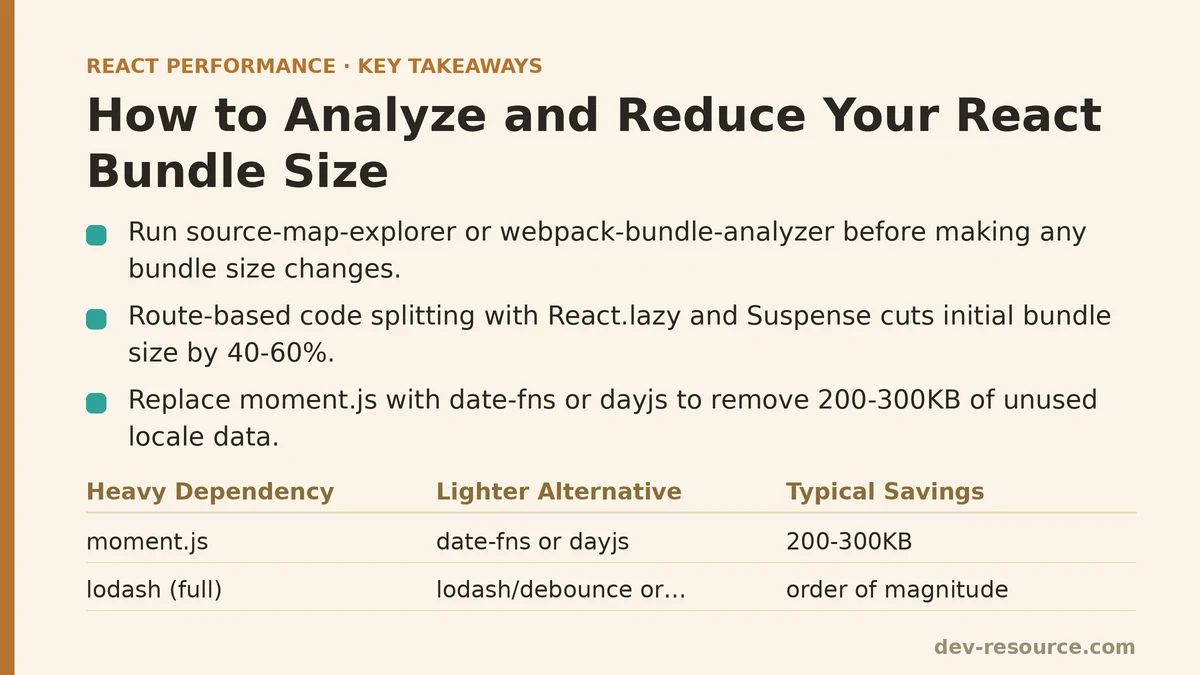
1. Analyze the Bundle Before Changing Anything
This isn’t really a size-reduction technique on its own — it’s the step that tells you which of the other four are worth your time. Guessing at what’s heavy in a bundle wastes effort on the wrong target more often than not.
The fastest way to get a real answer is source-map-explorer, which reads the production build’s source maps and renders a treemap showing exactly which packages and modules are consuming space:
npm run build
npx source-map-explorer 'build/static/js/*.js'
For projects using webpack directly, webpack-bundle-analyzer produces a similar visualization with more granular control over how chunks are grouped. Either tool tends to surface the same category of surprise: a moment.js locale bundle nobody uses, three overlapping icon libraries pulled in by different components, or a charting library imported in full when only one chart type is ever rendered.
Run this analysis first. It turns the next four steps from a checklist into a prioritized plan.
2. Split Code by Route
For most multi-page React applications, this is the single highest-leverage change available. Rather than shipping every route’s JavaScript in one initial bundle, React.lazy combined with Suspense lets each route load its own code only when a user navigates there.
import { lazy, Suspense } from 'react';

const Dashboard = lazy(() => import('./routes/Dashboard'));
const Settings = lazy(() => import('./routes/Settings'));

function App() {
  return (
    <Suspense fallback={<LoadingSpinner />}>
      <Routes>
        <Route path="/dashboard" element={<Dashboard />} />
        <Route path="/settings" element={<Settings />} />
      </Routes>
    </Suspense>
  );
}
A settings page that only 5% of visitors ever open has no business being downloaded by the other 95% on their first visit. Splitting by route means the initial JavaScript payload shrinks to roughly whatever the landing page needs, with everything else deferred until it’s requested. On applications with more than a handful of distinct routes, this alone commonly cuts initial bundle size by 40–60%, and it requires no changes to component logic — only to how modules are imported.
3. Replace Heavy Dependencies With Lighter Alternatives
Once the bundle analyzer has done its job, a pattern usually emerges: a small number of dependencies account for a disproportionate share of total size. Two of the most common repeat offenders:
- moment.js, which bundles its entire timezone and locale database by default and routinely adds 200–300KB even when a project only formats a handful of dates. Swapping to
date-fnsordayjs— both modular and a fraction of the size — often removes that weight entirely. - lodash, imported as a whole package (
import _ from 'lodash') when only two or three functions are actually used. Importing individual functions directly (import debounce from 'lodash/debounce'), or switching tolodash-esfor better tree-shaking support, can reduce that dependency’s footprint by an order of magnitude.
Before ripping out a library, it’s worth checking whether a native alternative already covers the need. Plenty of date-formatting and array-manipulation logic that once justified a dependency can now be handled with a few lines of modern JavaScript, at zero bundle cost.
4. Fix Tree-Shaking With Correct Import Syntax
Tree-shaking is the build tool’s ability to detect which exports from a module are unused and drop them from the final bundle. It only works reliably under specific conditions — ES module syntax, no side effects in the imported module, and named imports rather than default or namespace imports of large packages.
// Defeats tree-shaking — pulls in the entire library
import * as Icons from 'react-icons';

// Tree-shakes correctly — pulls in only what's used
import { FaHome, FaUser } from 'react-icons/fa';
The difference between these two lines can be the difference between a component costing 2KB and one costing 80KB, depending on the library. Checking package.json for a "sideEffects": false flag (or an array naming the specific files that do have side effects) is also worth doing for any custom internal packages in a monorepo — without it, bundlers are forced to assume every module might have side effects and include more than necessary, just to stay safe.
5. Lazy-Load Below-the-Fold and Conditional Features
This one ranks last not because it’s ineffective, but because it addresses a narrower slice of the problem than the previous four. Features that aren’t needed on initial render — a modal that opens on click, an admin panel gated behind a permission check, a rich-text editor that only appears after a button press — don’t need to be part of the main bundle at all.
function CommentSection() {
  const [showEditor, setShowEditor] = useState(false);
  const RichTextEditor = lazy(() => import('./RichTextEditor'));

  return (
    <div>
      <button onClick={() => setShowEditor(true)}>Write a comment</button>
      {showEditor && (
        <Suspense fallback={<LoadingSpinner />}>
          <RichTextEditor />
        </Suspense>
      )}
    </div>
  );
}
A rich-text editor library can easily weigh 100KB or more on its own. Deferring it until the moment a user actually clicks “write a comment” means that cost is paid only by the people who need it, not by every visitor who loads the page and never comments at all.
How the Five Techniques Compare
| Rank | Technique | Typical Bundle Reduction | Effort Required |
|---|---|---|---|
| — | Bundle analysis | N/A (diagnostic step) | Low |
| 1 | Route-based code splitting | 40–60% of initial load | Moderate |
| 2 | Replacing heavy dependencies | 10–30%, concentrated in specific packages | Moderate to high |
| 3 | Fixing tree-shaking / import syntax | 5–20%, varies by dependency | Low |
| 4 | Lazy-loading conditional features | 5–15%, situational | Low to moderate |
The reduction ranges above are directionally consistent with what shows up across projects doing this kind of audit, though the exact numbers depend heavily on which dependencies a given codebase happens to be carrying. A project with three chart libraries competing for the same job will see a bigger win from step 3 than one that’s already lean on dependencies but has never split a single route.
None of these five require adopting a new framework or rewriting existing components. They’re closer to a maintenance routine than a redesign — and running the bundle analyzer every few months, even after the initial cleanup, tends to catch new bloat before it accumulates into a problem that needs a dedicated write-up of its own.
What does your bundle analyzer show when you point it at your production build — is the weight concentrated in one or two obvious offenders, or spread thin across dozens of smaller dependencies? Related guides: Are Your React Dependencies Secretly Slowing You Down?, Dynamic Imports in Next.js: A Field Guide to Cutting Your Initial Bundle Significantly, and Building a Performance-First React Component Library from Scratch.
🔗 Recommended Reading
- React Performance Mistakes in Fintech Dashboards and How to Fix Them
- Lazy Loading Images and Components in React: A Step-by-Step Tutorial
- React Memoization: When and How to Use memo, useMemo, and useCallback
- Next.js App Router Performance Optimization for Beginners: A Step-by-Step Guide
- Measuring and Fixing React Re-render Performance: A Step-by-Step Walkthrough